Defining presets.
When you right-click on a key in the user interface PC Keyboard 2 or MIDI keyboard then all the current settings will be stored in the preset of the selected key. Make presets for all the songs in your repertoire.
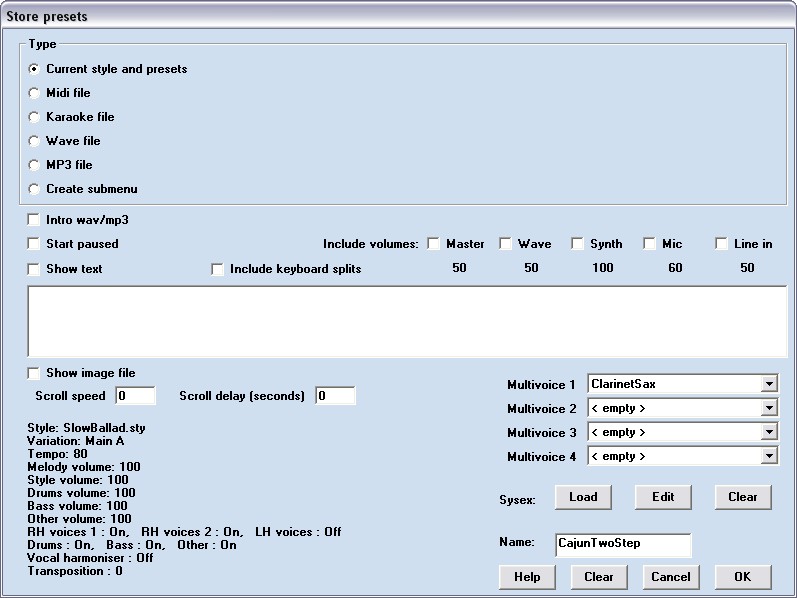
First a window will appear where all the current settings are listed in the lower left of the screen. You can't change these settings here, you must do that before you enter this window. Only the settings that are regarded to be song and style specific are inluded in the presets.
![]()
Click the intro wav/mp3 option and select a wave or mp3 file to include in the preset. This file will be played at the start of the song. E.g. you can include a wave file with a thunderstorm to play during the intro for the song Riders on the Storm. The wave file will start playing immediately when the preset is selected. You can choose to start the accompaniment at the same time or half way or at the end of the wave file.
The start paused option will display the Paused text in the main display when the preset is selected. Nothing will start until you press the key associated with the "Pause and restart" function. You can choose this option if you want to play an intro melody before the selected wave, midi or style starts playing. Users that have chosen the "Confirm restart" options in the settings menu may need this option to prevent that the style will start while they play a melody as intro in full keyboard mode. In Confirm restart mode the accompaniment will always end paused to prevent unwanted restarts after the ending. But it will not prevent an unwanted start of the accompaniment in the next selected preset unless the start paused option is selected.
The include keyboard splits option will include the key splits for chords and melody as defined in menu settings>keyboard-control. You may want to have different layouts for each song that you play.
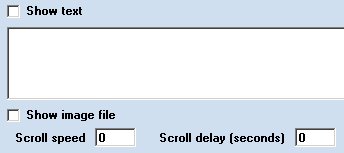
Check the Show text option and enter the chords and lyrics for the song in the text window below the option. Use the Ctrl-C and Ctrl-V keys to copy text from another software. The text will appear on the screen when you select the preset and it can be scrolled with the page up and page down keys.
Check the Show image option and a file box will popup where you can select an image with the score of the song. The score image will appear on the screen when you select the preset and can be scrolled just as the text. Instead of scrolling it manually you can let it scroll automatically by filling a value for the scroll speed. The scroll delay specifies how long it takes before it starts scrolling, you don't want the score to scroll away before you have played it. Try a value of 40 for the scroll speed and 2 seconds for the scroll delay. Check if it scroll in pace with the music and adjust it if needed.
If you have scanned more than 1 page of music then paste them together using MS Paint. Cut off the footer and heading of each page before you paste them together. You will get one long continuous music-score-roll. The score in the example Waltzing Mathilda was made with Busker.
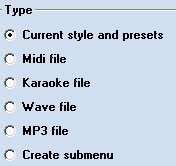
Selecting the Create submenu option will assign a submenu with 60 more presets to the selected preset key. The menu structure is only one level deep: you can't create submenus within submenus.
Instead of using a style and play the chords for the auto-accompaniment, you can also choose to play a multimedia file as backing track and have the whole keyboard available for your solo performance. Click on the MIDI, Karoake, Wave or MP3 file option and select a file in the file box that pops up. When a karaoke file is selected then the lyrics will be displayed in large font and the words to be sung are higlighted. All the multimedia files can be interrupted with the "Pause and restart" key function.
In MIDI and Karaoke files the volumes and on/off switches for melody/accompaniment/drums/bass and other instruments can be controlled in the same way as when playing a style. Also the transposition will work. These settings are included in the presets when there is a MIDI or Karaoke file involved. After selecting the MIDI file you can: press OK, select the preset to start the MIDI file, adjust the volumes until it sounds right and finally right click on the preset key to store the new settings. Keep in mind that for MIDI files OMB will expect the drums on channel 9 and 10 and the bass on channel 11.
In Wave and MP3 files transposition and volume control of separate instrument is not working. But you can control the volume with the key functions for the soundcard volumes. Including the settings for the soundcard volumes is optional. Like the other settings you must adjust and try these before you enter this window. When an option is checked then the associated value will be set when the preset is selected. Remember that this volume will stay active when you select another preset that has this option not checked. So if you include a certain soundcard volume: either include it in the other presets as well or make a special preset just to reset the soundcard volumes to default values.
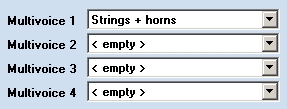
You may want to play parts of a song with different multivoices. Define the multivoices that you'll need here. During song playing they are visible in the functions panel (provided that you have assigned the "preset voice 1 - 4" functions to keys) and can be activated with the associated key.
A file with system exclusive message and sequence with controllers and patches can be include with the preset. The sysex is always sent after the multivoice- and style settings are sent, so only include a "GM reset" message if you want to ignore the settings in the style and the multivoice and define all the settings from scratch.
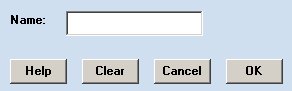
When everything is defined give the preset a name. The name will appear on the key label in the future. Now press the OK button. If you want to clear a preset key: right click on it and press the Clear button.
Back to the One Man Band main page.